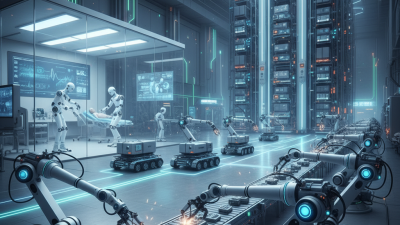
How to Build a Robot Machine for Beginners?
Building a robot machine is an exciting venture for beginners. According to Dr. Emily Sanders, a leading expert in robotics, "Every robot machine starts with a simple idea." This statement highlights the foundational mindset needed for aspiring builders.
Beginner-friendly projects allow individuals to experiment and learn. Simple robot machines can be created using basic materials and tools. You don't need advanced knowledge or expensive components. Yet, even small mistakes can lead to significant learning experiences.
The journey is not always straightforward. You might face challenges, such as programming errors or mechanical failures. It's essential to embrace these obstacles as part of your growth. A successful robot machine project lies in perseverance and creativity. By reflecting on each step, beginners can enhance their skills and understanding of robotics.
Understanding the Basics of Robotics for Beginners
Building a robot machine can be an exciting venture for beginners. Understanding the basics of robotics is essential. Start by learning about different components, like sensors, motors, and controllers. Each part plays a vital role in making your robot functional. A simple design can teach you a lot.
Tips: Begin with a straightforward project. Choose a basic robot that can move. This helps grasp fundamental concepts without overwhelming yourself.
It's crucial to embrace mistakes. Your first attempt may not work perfectly, and that’s okay. Troubleshooting is part of the learning process. Reflecting on what went wrong is where real understanding develops.
Also, collaborate and seek advice from others. Engaging with a community can provide valuable insights and ideas you might not have considered. Share your challenges and learn from others' experiences.
How to Build a Robot Machine for Beginners? - Understanding the Basics of Robotics for Beginners
| Component |
Description |
Estimated Cost (USD) |
Skill Level Required |
| Microcontroller |
Acts as the brain of the robot, controlling all operations. |
25 |
Beginner |
| Motors |
Used for movement, converting electrical energy into mechanical motion. |
35 |
Beginner |
| Sensors |
Detects environmental conditions like distance and obstacles. |
20 |
Beginner |
| Chassis |
The frame of the robot, providing structure and support. |
50 |
Beginner |
| Power Supply |
Provides the necessary power to run the robot's components. |
15 |
Beginner |
Choosing the Right Components for Your Robot Machine
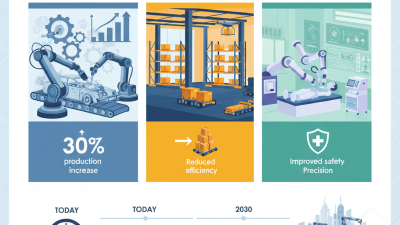
Choosing the right components for your robot machine is a crucial step in building a successful robot. The components will impact functionality and performance. According to industry data, around 50% of beginner robotics projects fail due to poor component selection. It's essential to understand each part's role and compatibility with others.
Start with the microcontroller. It serves as your robot's brain. Look for options that offer ample processing power. Many beginners choose boards with easy programming interfaces. The right microcontroller can significantly reduce development time. Next, consider sensors. They provide vital data that helps your robot navigate its environment. Data from robotics reports indicate that robots equipped with multiple sensors perform 30% better in obstacle avoidance.
Don’t overlook power supply choices. Batteries can affect your robot's weight and run time. A heavier battery may offer longer usage but can impair mobility. Understand the trade-offs involved. Building a robot often involves trial and error. It's common to realize that some components don’t work as expected. Embrace this learning process. Each setback teaches valuable lessons that refine your skills.
Robot Components Breakdown for Beginners
This bar chart illustrates the estimated costs of various components needed to build a robot machine for beginners. Understanding the breakdown of expenses for microcontrollers, chassis, sensors, motors, and power supplies is essential for budgeting and planning your robot project.
Step-by-Step Instructions for Assembling Your Robot
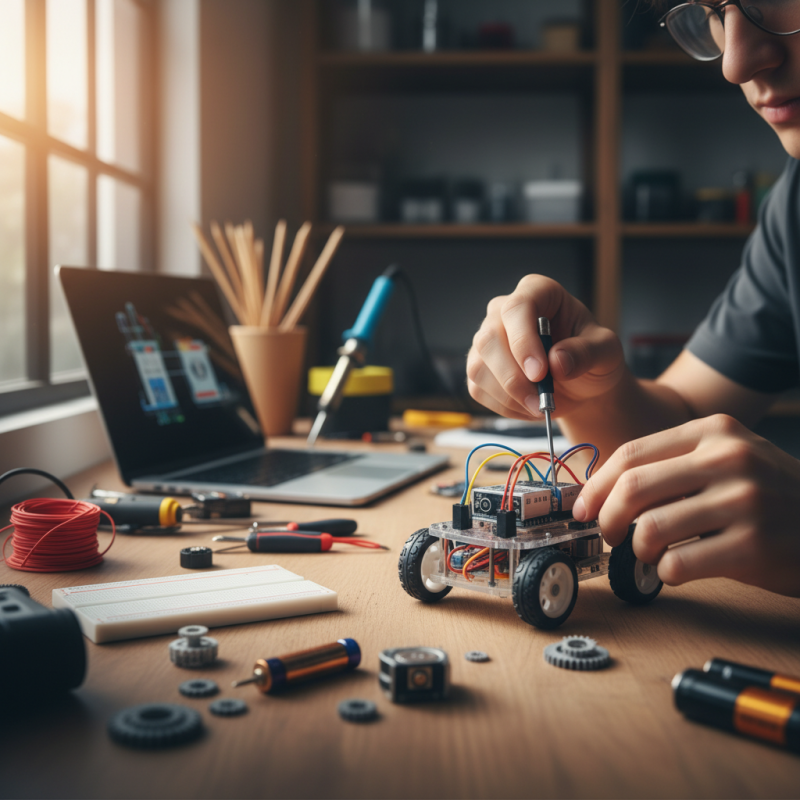
Building a robot machine can be exciting for beginners. Start with selecting the right materials. You’ll need a microcontroller, motors, sensors, and a sturdy chassis. Buy components that are easily found and affordable. Make a list of everything required. Then, gather your tools. A screwdriver, wire cutter, and soldering iron are essential.
Next, assemble the chassis. Ensure all parts fit together tightly. Use screws and bolts to secure everything. Align the wheels properly so the robot moves smoothly. It’s essential to check the balance as well. If it topples over, it won’t work well.
Wiring comes next. This step can be tedious. Take your time and double-check connections. Mistakes can lead to failures. Once everything is wired, test each component. This is often where issues arise. Don't be discouraged. Troubleshooting can be a learning experience. Document each step you take. You may need to revisit your work. Each trial provides lessons for your next project.
Testing and Troubleshooting Your Robot Machine
Testing and troubleshooting are crucial steps in building your robot machine. After completing assembly, your robot may not function as expected. This can be frustrating, but it’s part of the learning process. Start by checking power connections and ensuring the batteries are charged. A simple oversight can lead to complicated issues.
Next, observe how your robot behaves. Does it move at all? If not, inspect the wiring and motors. They might be misaligned or damaged. Error messages can be tricky, too. Documenting these can help in finding a solution later. Don’t hesitate to go back to the drawing board if something doesn’t add up.
Sometimes it’s the little things that lead to big problems. Double-check the code uploaded to your robot’s processor. Small syntax errors can disrupt everything. Remember, troubleshooting takes time. Reflect on what went wrong at various stages, and don’t be afraid to make adjustments. Each mistake is a chance to learn and improve your skills.